
Setting Up Mailgun
For the vast majority of projects, we'll need to make use of email in some way. At the very least, projects where users have accounts will need the ability to reset their passwords via their email inbox.
Vegan Hacktivists uses Mailgun to send emails for all of our projects, so here's how to set that up.
⚠️ Notes
- This guide should likely be followed by the project's team leader.
- You will need access to Laravel Forge, Mailgun, and Cloudflare. If you don't have access to them, reach out to David to get Forge credentials to get added as a collaborator to the other accounts.
- The project should already be set up on Cloudflare.
Add the Domain
The first step will be adding the domain to Mailgun. Head to Mailgun's website and log in. To do that, click on "Sending" in the sidebar, then "Domains," and then "Add New Domain."

Like Mailgun says, it's recommended to add a subdomain, rather than the root domain. The convention we use is prepending the project's domain with mail., so for veganlinguists.org, we added mail.veganlinguists.org to Mailgun.
As for the region, it doesn't really matter.
Setting DNS Records
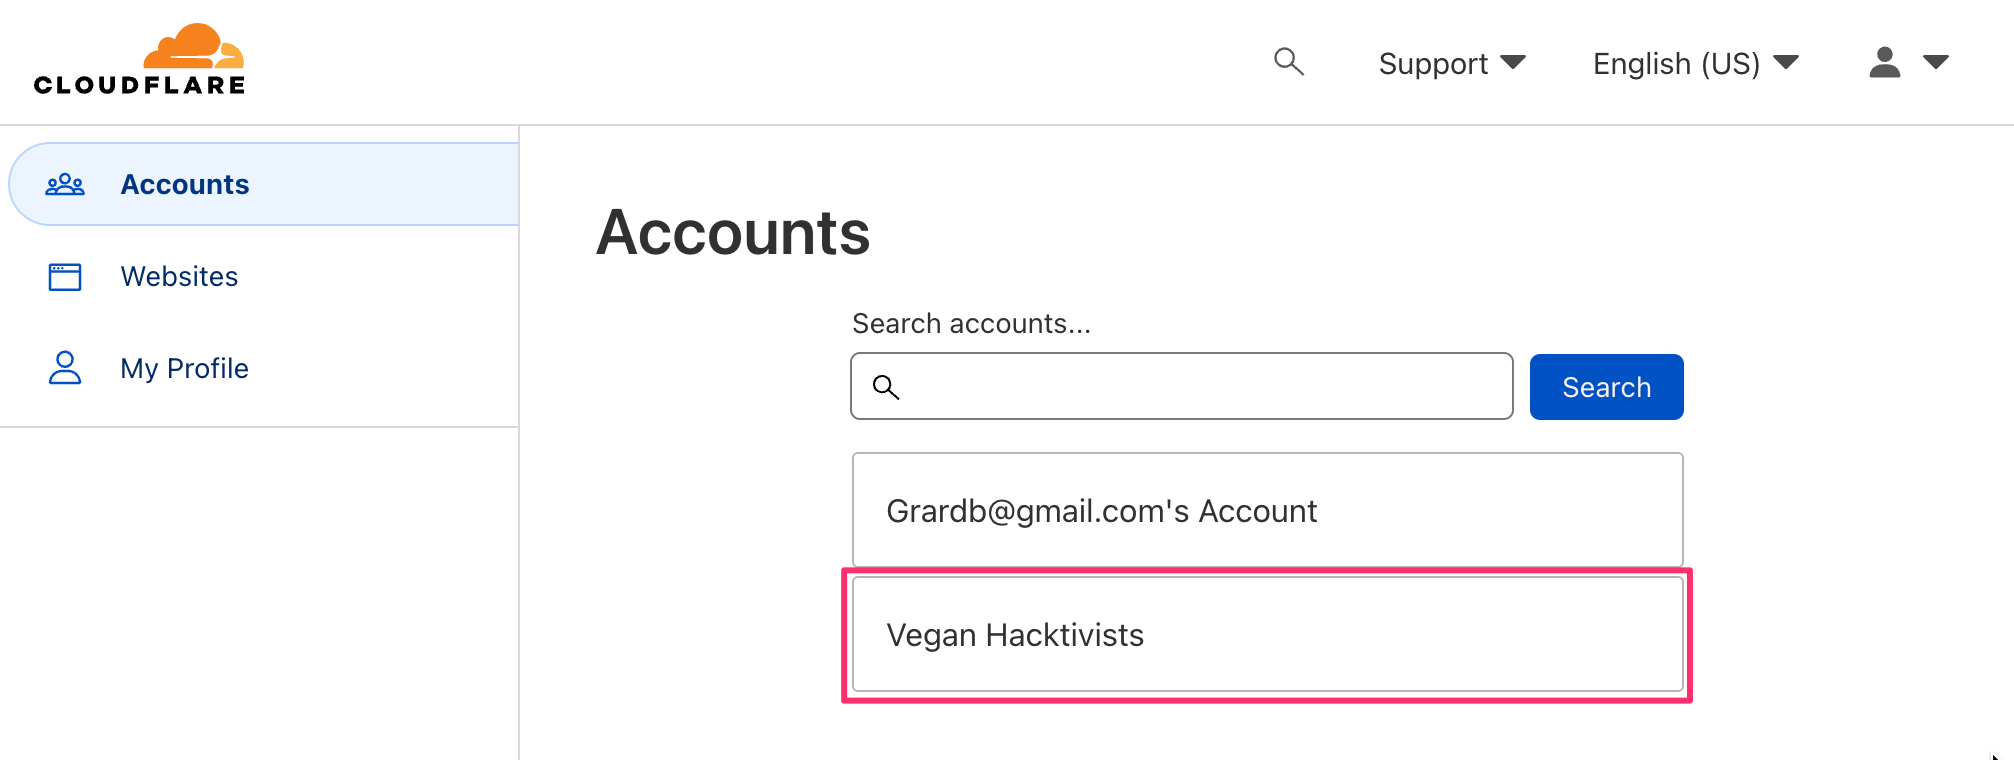
After adding the domain, you will be shown a list of DNS records we must add in our DNS settings. For this, head over to Cloudflare and go into the Vegan Hacktivist account:
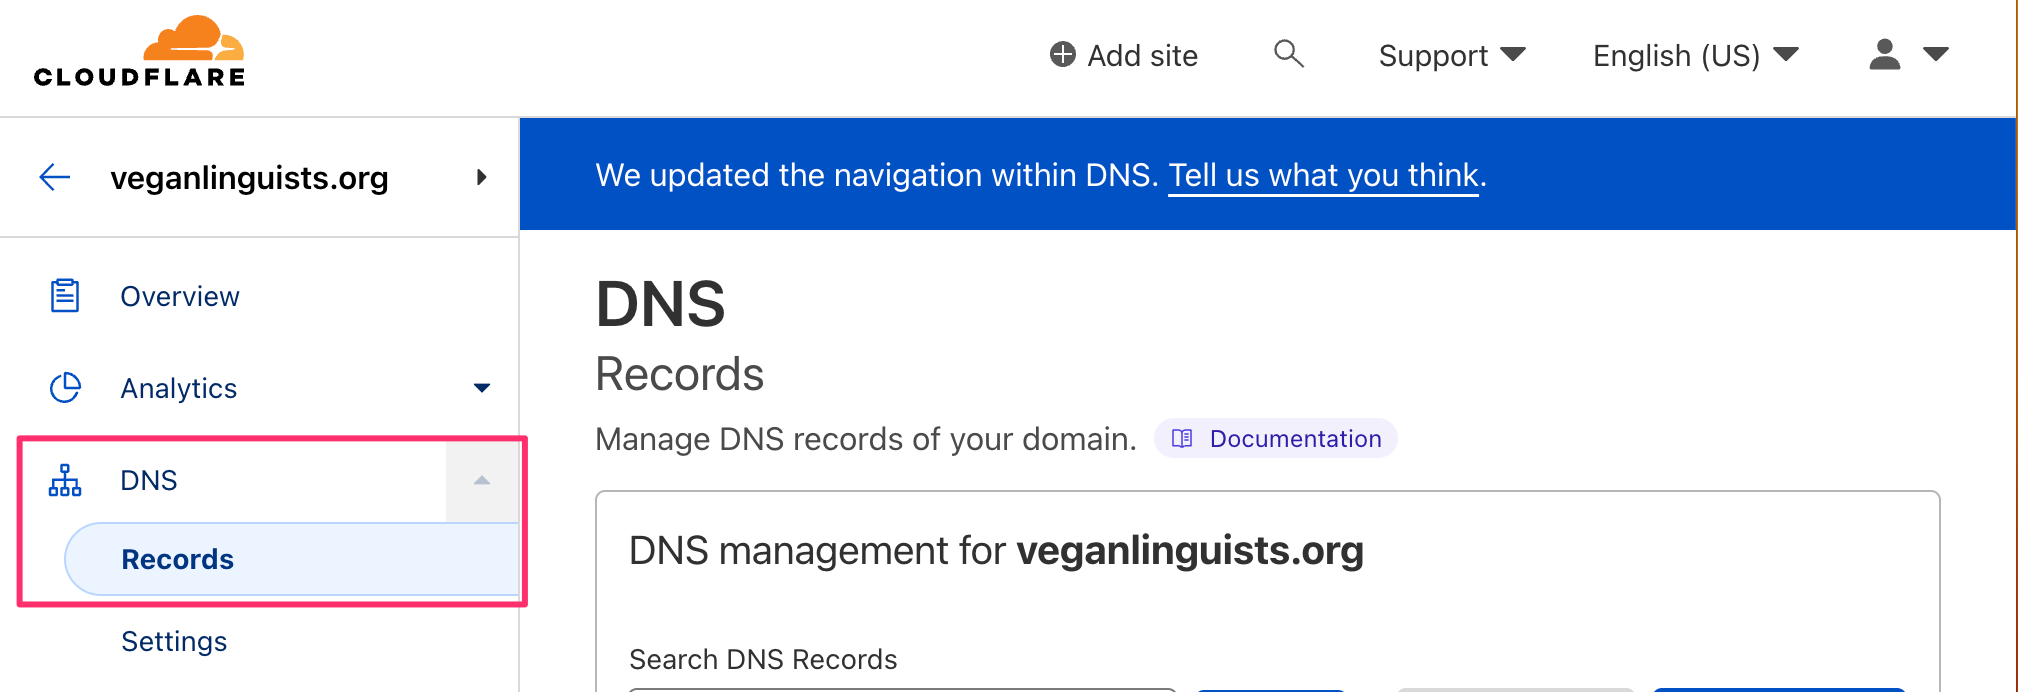
Find your project's domain name in the list of domains or use the search bar to help. Once found, click on the domain, and then click "DNS" on the sidebar:
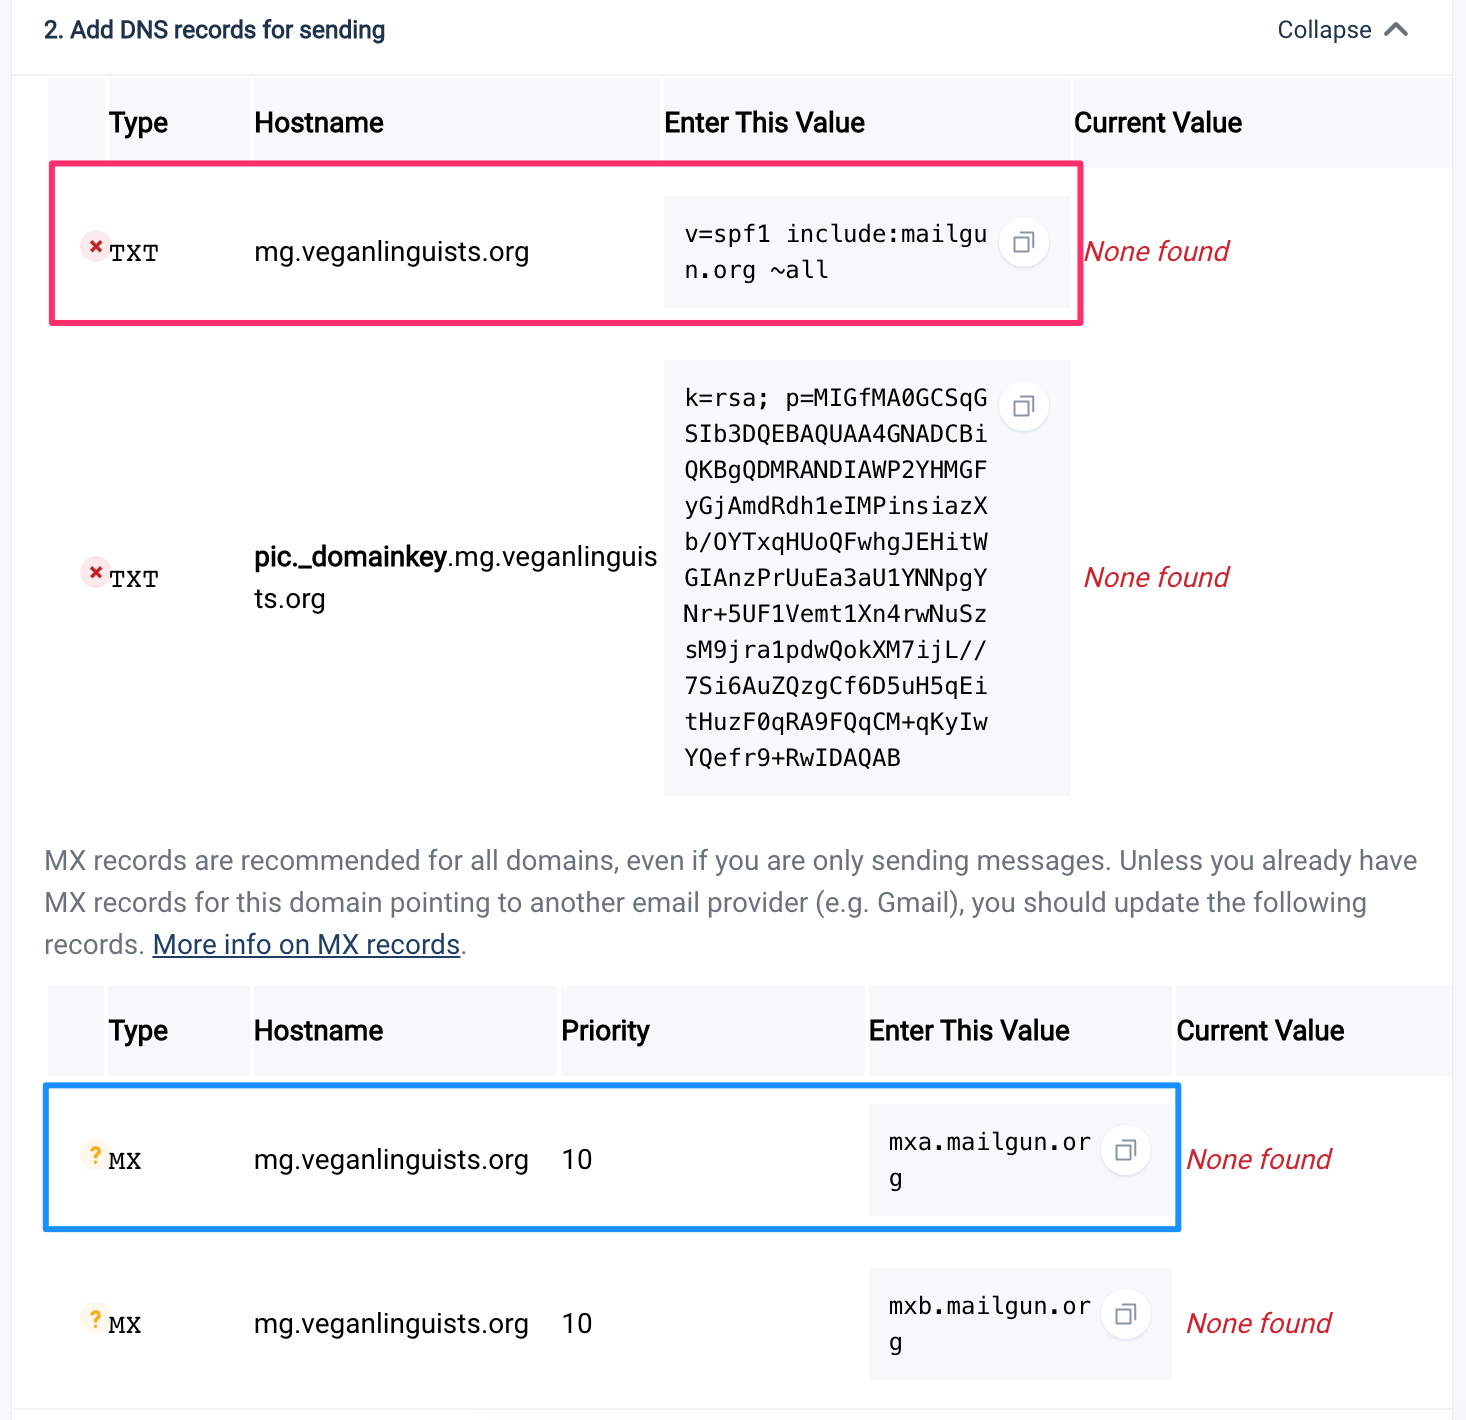
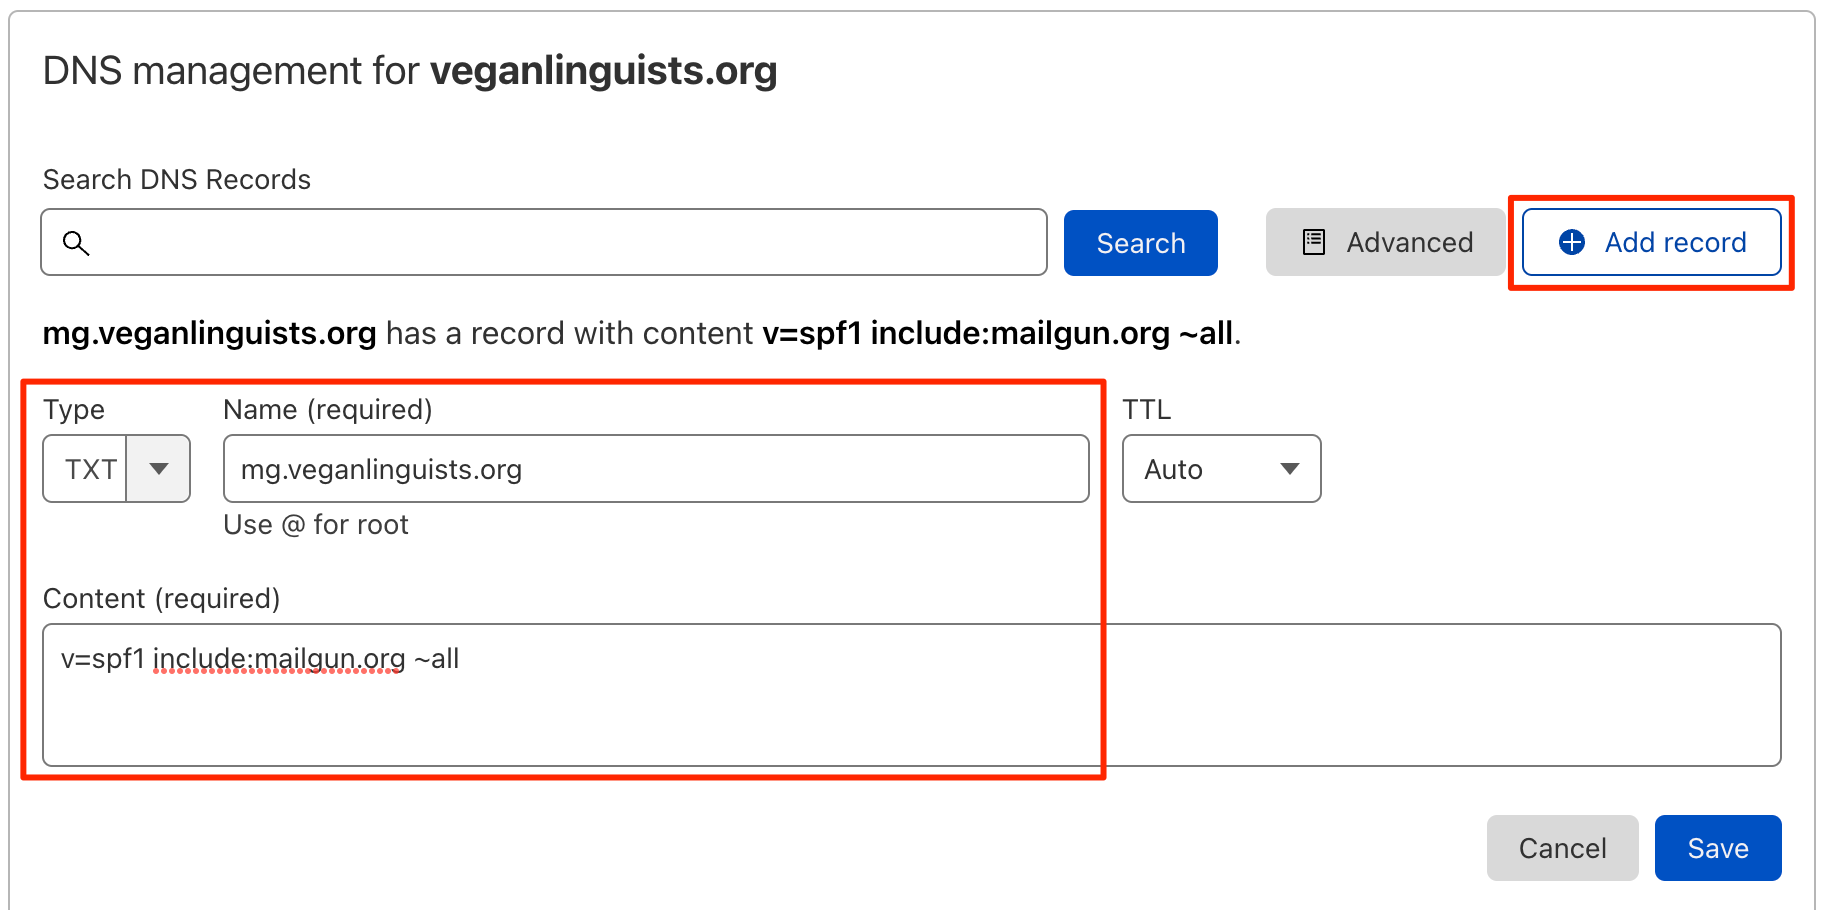
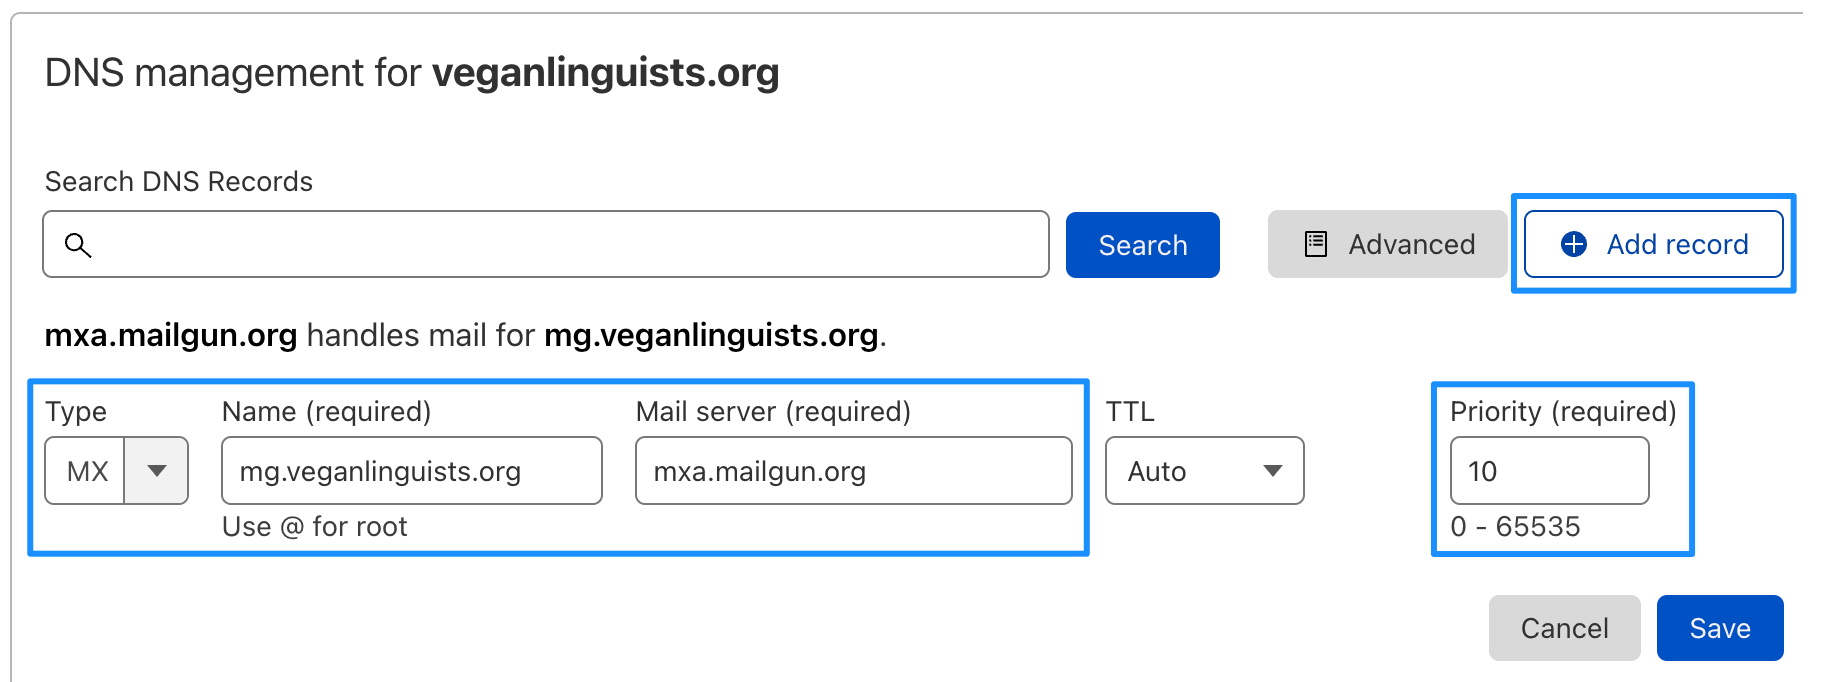
Now, it's time to add the DNS records that Mailgun provides, of which there should be five. Go down the list on Mailgun and add each one by clicking the "Add record" button and filling out the form with the values that Mailgun provides. Below are a couple of examples:
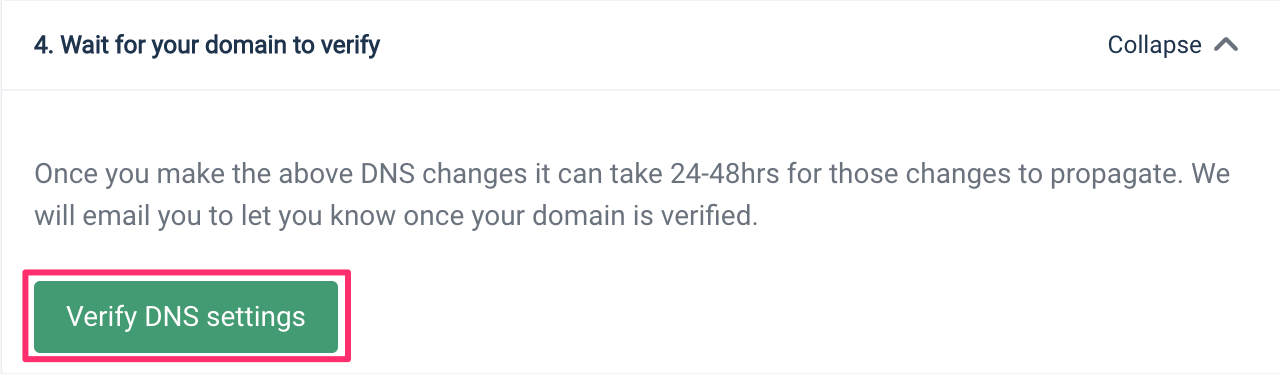
Once all of the DNS records are added, go back to Mailgun and click on one of the "Verify DNS settings" buttons:
⚠️ Note
For the final DNS record (the CNAME one), make sure to disable proxying after it's been added:

More likely than not, at least one of the records will fail to be verified right away. If this happens, just wait ten minutes or so and try again. If an hour goes by and things are still failing, then you may need to double-check to make sure everything was entered correctly.
Once all of the DNS settings are verified, the page will refresh and you'll be redirected to another page.
Updating Environment Variables
The next step is to get our project to send email using Mailgun. Mailgun's UI is very confusing for this, so let's walk through it.
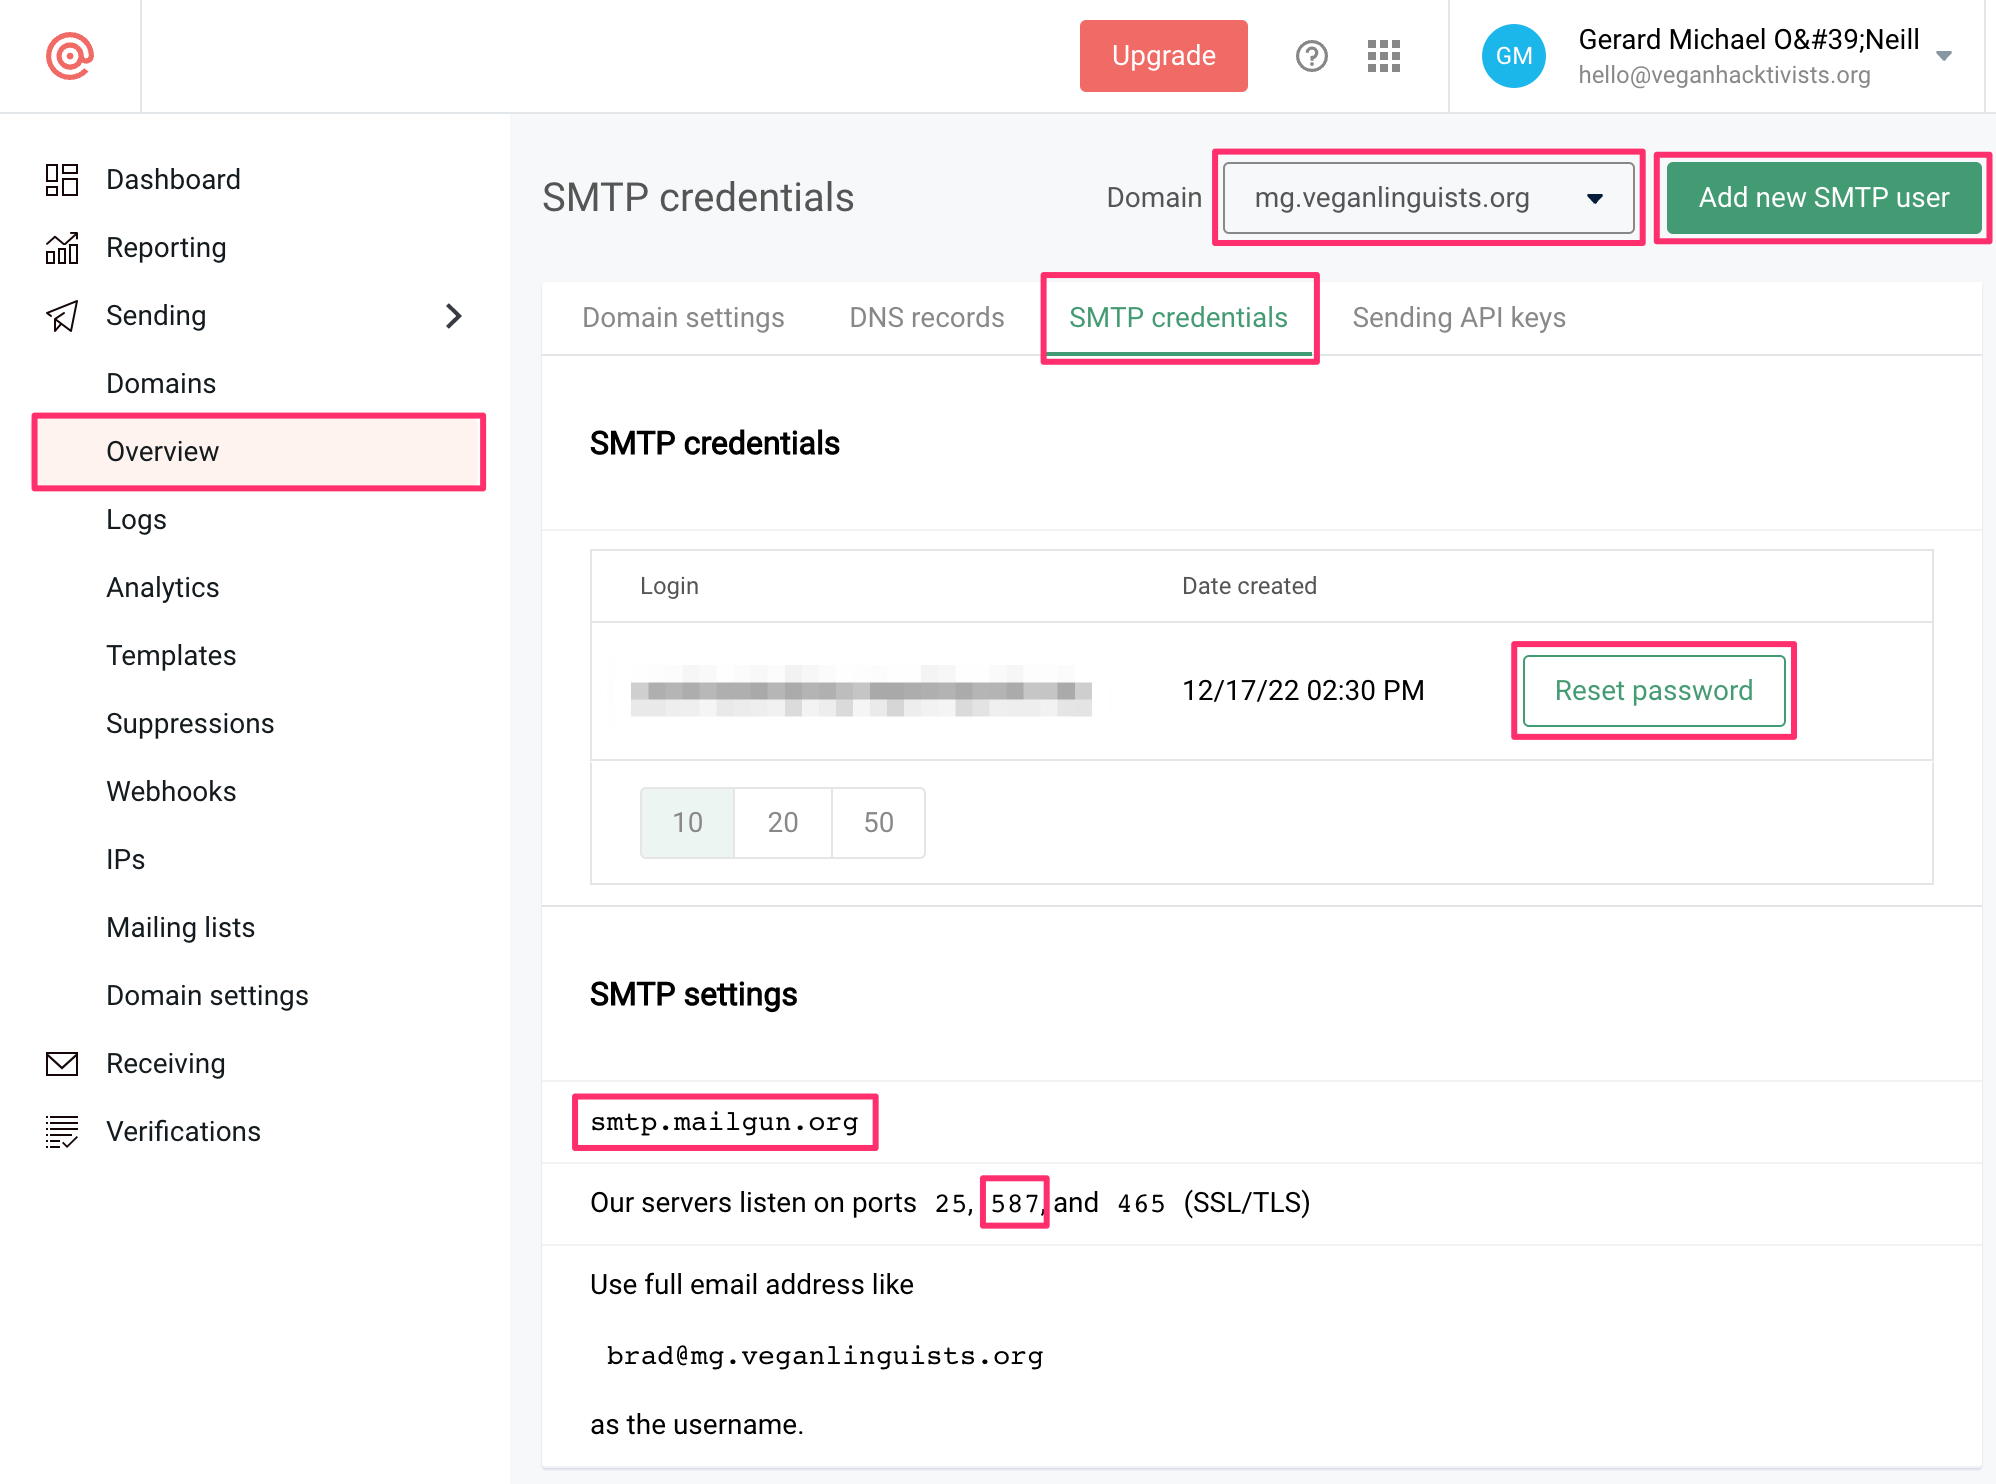
First, click on "Overview" on the sidebar and then open the "SMTP Credentials" tab. Make sure that the domain in the dropdown in the top left is the correct one for your project:
At this point, you have two options (either is fine):
- Reset the password for the default SMTP user.
- Create a new SMTP user.
Copy the password for the SMTP user and save it for the next step. Keep this tab open for the other things we'll need as well!
Next, we need to head over to Forge and navigate to your project's environment variables:
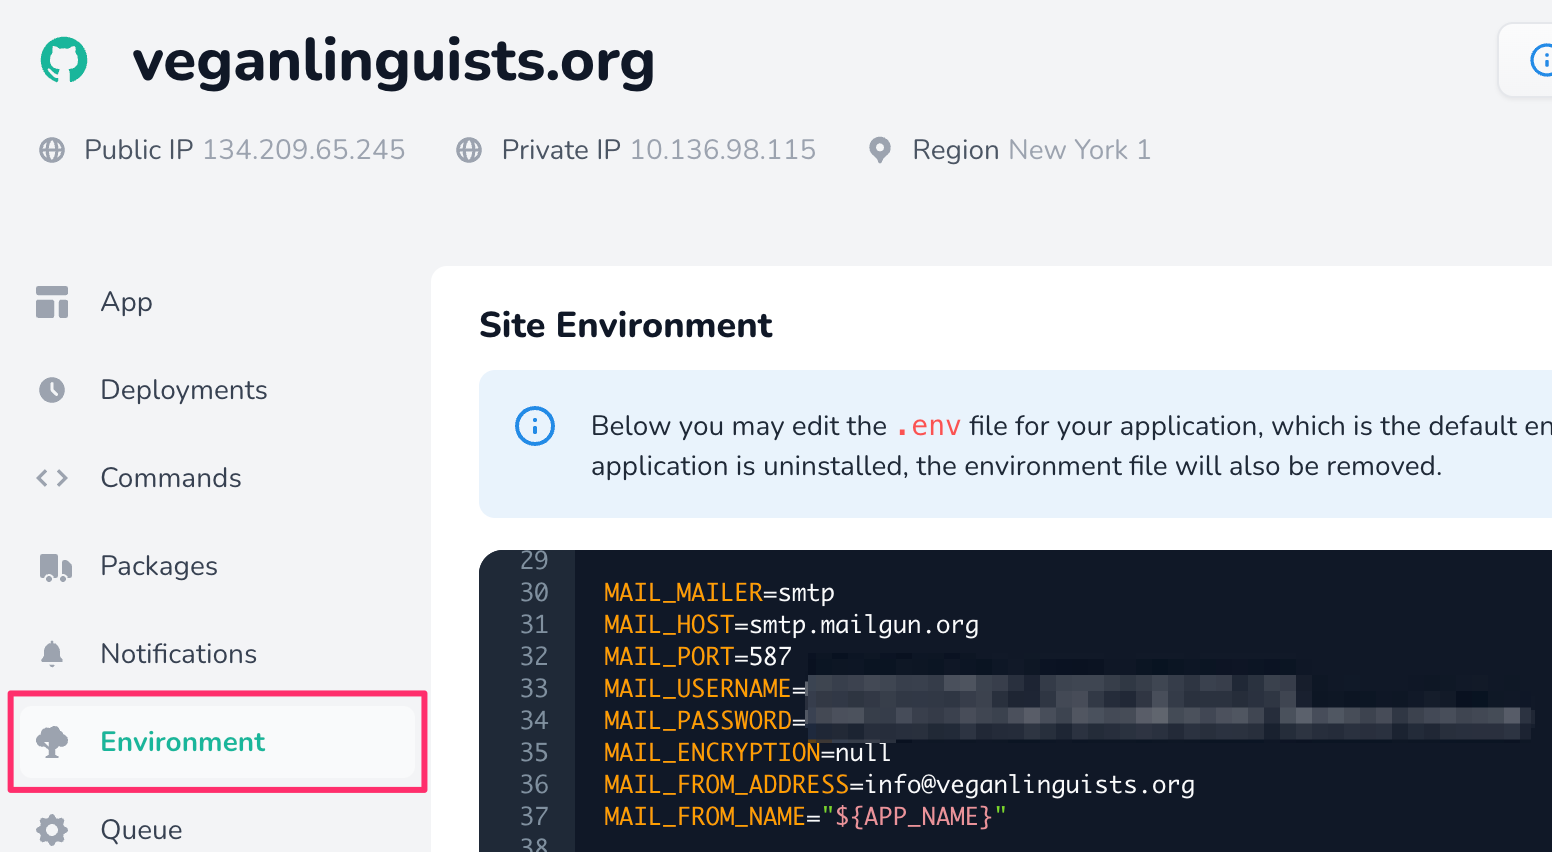
By default, Laravel has environment variables to make setting up email very simple. All we need to do is take the credentials from Mailgun and add them to the project's environment variables.
⚠️ Note
While Mailgun provides you with three different port options, they actually recommend using port 587, so please choose that.
After saving the environment variable changes, you should now officially be able to send mail from your project!
No Comments